Saturday, November 24, 2012

Ebony Elegance & fused glass

I finished up Ebony Elegance and have even worn it many times since.  I love how it is so comfortable to wear.  I'm going to focus on doing smaller pieces that can be worn as daily wear.


Last Saturday I finally got a chance to take a fused glass with Roxanne.  It has been years that I've wanted to take her beginner's fused glass workshop.  Finally, I was able to spend the afternoon with Roxanne and a great group of women that made me feel comfortable even though I was the only beginner there.  I enjoyed sitting at my work table and start cutting glass into pieces and puzzling the different pieces together into pleasing patterns.  But the most fun was not knowing what I was going to end up with after it had all been fired in Roxanne's kiln.  When I got my package back on Tuesday I was ecstatic.  One special project that Roxanne let me work on was taking the a little bit of Frodo and Arwen's ashes and putting into a piece of that was semi Scottie shape.  I started out by drawing a Scottie dog on a piece of wax paper, and then puzzle different pieces of glass to match the shape.  Then, I took all kinds of dichroic glass and bits of this and that spacing everything out evenly. Then I added a bit of each of their ashes to the piece with a small amount of frit to give the ashes a little color.  I am happy with the piece, but wish that I didn't use the yellow rod for the top.  It was a little too much, but I can work with it.  Best part with glass is that I can rework it in later classes.  Oh yes, I'm hooked.  I plan to take more classes with her in the future.

Work space waiting for me
Tray all ready to go into the kiln
My special project using Arwen and Frodo's ashes
I even manage to cut a circle without too much spilled blood
Finished special project
Enough fused glass to keep me busy at bezel all Winter


Sunday I went to the Christmas Fair over at the Aladdin Shrine Temple in Columbus.  My friend Cyndy Sieving has had a booth there since I believe she told me 1997.  I enjoyed sitting with her few hours chatting, gossiping, laughing, and getting caught up on each other busy life.  I took a stroll around the vendor booths. Saw a few things I liked, but actually walked out without spending anything.  But I did so enjoy my afternoon.

Cyndy at her booth advertising for AFICC

Cyndy's newest creation

Working evening shift now.  I sort of like it. The workload is much easier for me as instead of only 3 people, we have 5-6.  The work is different somewhat, but the stress level is way down.  I actually think I'm seeing improvement in my elbow and hope the tendon is healing.  Only thing bad, is that Fiona still wants to wake up early to eat.  So I'm having to make myself get into bed almost as soon as I get home as 6ish wake up call is still early. But you know the dog must be obeyed!

Wednesday, November 14, 2012

WIP Ebony Elegance

Earlier this week, I showed you a necklace incorporating herringbone and right angle weave after being inspired by Marcia DeCoster's Beaded Opueance and Mabeline Gidez's I CAN Right Angle Weave.  I was very happy with the outcome and have worn it almost every single day since the creation.  It is light weight, and simple enough for work wear but jazzy enough to wear out for a night on the town. Monday, I decided to pull out another on of Lark Craft books and see what other things could give me an idea and inspire me to push my designing a little bit further.  This time, I was looking at Jill Wiseman's Beautiful Beaded Ropes and came across several very interesting concepts.  In several of her projects, she states that you could make all the pieces of a necklace individually and then put them together but why not find a way embellish one to incorporate another creating something more solid and unique.  Talk about making my brain buzz...


So I started out with a small bead embroidered pendent in all blacks and silver.  I decided to make the bail using right angle weave instead of peyote which is what is normally used.  Then I made a long peyote tube using size 11 black matt beads.  If you've followed me for awhile, you'll know that I'm not a big fan of peyote so this was a little bit of a challenge for me to keep the pattern going in all ONE COLOR!  But it worked, and I was pleased at how it looked.  I could at this point just add the pendent put on a clasp and call it done.  But nope, that would not make my Muse happy.  So I decided to once again call on Marcia's book to give me another idea but I came back to Amphora again as I love the look of the right angle weave beaded bead.  But as suggested in Jill's book, I wanted to make this a part of the peyote chain.  So added a row of size 11 seed beads between the "ditch" in the peyote tube securing it to the peyote chain and used this as the starting place for a RAW tube around the tube.  Then I did only one other layer with the same matt black beads for only one row.  Now I have movement in multiple directions with the roundness of the pendent, the even rows of the peyote and the added depth and complimentary direction of the RAW tube with the embellishments.  I like how it looks so far.


I'm going to add another RAW tube on the other side of the pendent and these two permanent RAW tubes will keep the pendent from sliding all over the place.  But am I done, nope.  My plan is to add at least two more of the RAW tubes farther up the peyote tube.  Stay tune to check out more progress post.

Tuesday, November 13, 2012

Combinating techniques for a unique flavor

When I was fifteen, I decided that I wanted to learn to bake.  For Christmas, my parents got me a cookbook which I dived right into.  Up until then, I'd been the "box" kind of baker...you know what I mean...Betty Crocker or those tubes of cookie dough was about all I knew how to do.  Then I took Home Economics along with my prized cookbook, and decided I could take what I'd been doing and "ADD" to it.  So then, I had my Mom add flavorings and food color to the shopping list.  I still did my box mixes as I wasn't ready to start from real scratch just yet.  My sister would help me, and we'd come up with the most amazing combinations.  We were very lucky that our brother would eat just about anything we made.  Our biggest undertaking for a Forth of July family party was to make a big flag sheet cake.  The actual cake was a regular chocolate cake mix where we added some cherry flavored pudding.  It was pretty tasty and reminded us of chocolate covered cherries, but we weren't finished.  There was the icing to consider.  Red, white and blue was easy to make with our food colorings, but we wanted to make it special so we (you guessed) got out the flavorings.  It was a sort of banana split type of cake with banana, pineapple, and cherry flavorings.  Hey, we thought it would not only be the hit of the party, but a cornucopia of flavor delights.  My Dad's eyes glazed over with all the scrumptious sugar.  He took a giant piece, bit into it and those glazed eyes turned into tiny pin pricks as they focused on me and these words came out of his mouth, "what did you girls do?".  Well, it was too confusing for the taste buds, so the cake sat uneaten and the guest had boring watermelon instead.  My brother did eat the whole cake in the next few days, but this experiment was a wake up call to me that yes, you can mix and match things but you need to focus on only a few surprises at a time.  No need to throw everything in the mix (literally) or you'll just confuse everyone and make a big noxious mess.


Same goes with designing beaded jewelry.  First off, before you get down to the nitty gritty, you have to take your time and really learn the techniques.  You don't have to become a Master at them, but learn them enough so that you don't struggle with the execution of each technique.  Use books such as Mabeline Gidez's I CAN Right Angle Weave to learn the basics.  Take some time to go through Lark's magnificent collection of Master Bead Weaver's books such as Marcia DeCoster's 
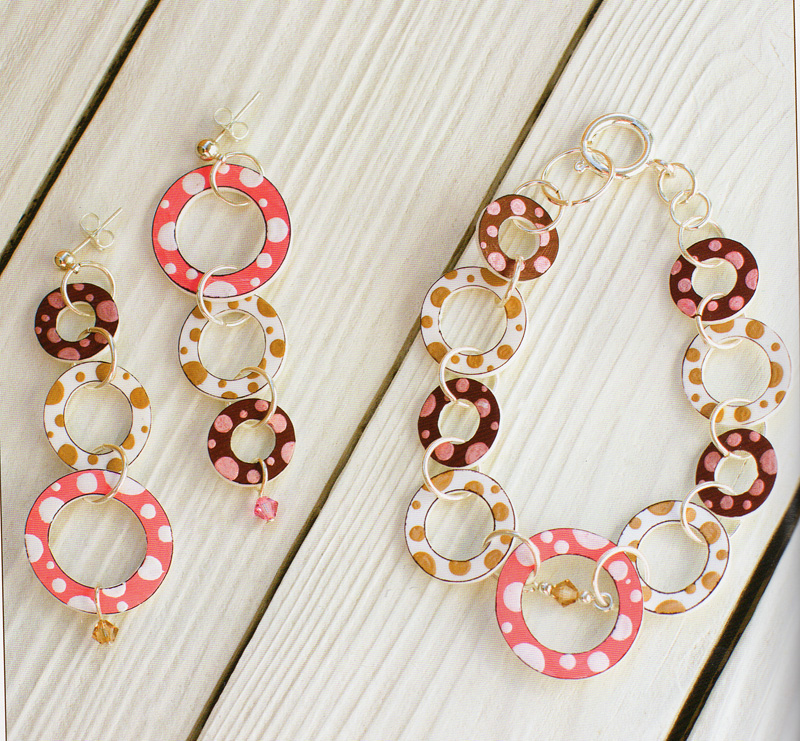
Beaded Opulence honing your skills and getting ideas.  The two words here and Practice and Experimenting.  Practice the skills and then take that experience you've worked on, and start adding two "ingredients" together to make something different, unique, but complimentary.  This is what I've started doing on my beaded jewelry design. 


I've called my newest piece "Delightful Brunch".  Brunch is a combination of breakfast and lunch with all the delicious treats you find in both meals, but all put together for mouth watering temptations.  Delightful Brunch is my offering of two separate bead weaving techniques used together to create something simply delicious.  The rope is a basic tubular Herringbone using two different size seed beads.  With this piece, I used matt colored size 11 seed beads with size 11 Galvanized colored size 8 seed beads for that little bump.  This is one long tube which can be slipped over the head in a lariat type style.  Then the fastener is Right Angle Weave tube inspired from Marcia DeCoster's Beaded Opulence front cover.  For this I used a combination of her instructions with a few little changes.  The end dangles are also another offering of other techniques.  One dangle is a lampwork bead and the other dangle is a peyote caged Rivoli combining tear drop pearls.  Each piece is separately made and then combined and presented for your approval.  I've worn this two times already, and it is so light that I forget I'm wearing it, but it does draw attention.


So never be afraid to combine stitches.  Experiment and enjoy and try to remember that sometimes too much is not necessarily bad as there is always someone out there that will enjoy a big batch of everything thrown into the bowl.  And always have your groupies there cheering you on.

Wednesday, November 7, 2012

Book Review: I CAN right angle weave


Lark has come up with something exciting and guaranteed to find a permanent place in you library.  This week Lark is releasing the very first book in their new series 1 CAN.  And what an exciting book for the first of this upcoming series of book that every beader will want to possess.  Mabeline Gidiz has taken on the task of bringing one of the most versatile bead weaving techniques with success to those who have found Right Angle Weave a challenge.  I CAN Right Angle Weave has 25 jewelry projects ranging for the basic beginner up to advanced projects to entice those who have found themselves proficient at RAW.  


Mabeline writes "this is the book I wanted when I first started.  It doesn't tell you how to bead-IT SHOWS YOU...I break everything down into simple steps supplemented with illustrations...diagrams for almost every step which guarantees your success."  So many people have been intimidated by right angle weave.  I actually sat in a class one week in Milwaukee next to a woman who after three days struggling to understand the thread path gave up.  Many others find right angle weave to not make sense and refuse to even look at any project where RAW is even mentioned.  Now with this new I CAN book, everyone can use the generous and abundant step by step instructions to find that "ah-ha" moment where right angle weave "clicks".  


Sample of Mabeline's fantastic illustrative diagrams

One of the fantastic projects for an experienced beginner

Mabeline starts with the basic of right angle weave adding different aspects to this exciting technique with delicious projects.  Following each chapter in I CAN Right Angle Weave, will give the bead weaver more confidence and remain a viable resource to come back to over and over again.  I know that this book will remain in my main studio within reach for questions to make sure that I never say I can't but that I CAN! 
Front or Back, Right Angle Weave has true elegance
Gallery of Mabeline's work

And don't forget with Christmas just around the corner I CAN Right Angle Weave would delight any bead weaver whether new at RAW or just needing a reference to explore this delightful technique one more bead at a time.   Plus, I just saw that the next book in the I CAN series is all about Herribone. 

Disclosure...As a reviewer of  products from Lark Books, I receive the book above free of charge. I have been asked to review these products and give my honest opinion of the products...positive or negative. I am not being compensated by Lark Books for my endorsement as it pertains to the products received and reviewed.

Monday, November 5, 2012

Shrink! Shrank! Shrunk! Review

I guess I still am a little amazing that the calendar is now saying that it is NOVEMBER!  Where did this whole Summer and Fall go to?  Wasn't it just yesterday when I was complaining about the temperatures over 100? And now I'm scraping frost off my car windows in the morning and bundling up to take Fiona out for her nightly walks.  Well, November mean two things to me. Time to starting thinking about Thanksgiving and who is going to fed me a feast (okay so I'm not really begging but since I work most Thanksgivings, I'm pretty sure that the feast will be had earlier or later with family and I'll have that awful pressed turkey and reconstituted potatoes at the hospital cafeteria).  And two, start making my list for Christmas gifts for family and friends.  If I had the time, I'd make home made gifts for everyone on my list, but since I work full time still, I have to limit my time and most people just get the traditional candy (notice I didn't say fruitcake even though I LOVE fruitcake) or store bought gift.  I remember sitting in my bedroom while living at home with my parents still with scissors, glue, needle and thread helping my younger brother and sister make gifts for everyone.  I still have a few of them stashed away that they in secret made for me.  Home made gifts are the best, and they mean so much.


With that said, I think Lark Craft's book which came out last month, will answer all the questions on what to give the teacher, or the post man, or the neighbors.  AND this is the perfect book for anyone with teenagers who want to spend some time with them making things that are easy to make but so much fun.  Plus the best thing is that all the techniques and ideas in this book can be used for the serious crafter who is looking for things to make for the Holiday Craft shows as anyone who sees one of these pieces will absolutely want them.  Now that I have your attention and curiosity, let me tell you that Kathy Sheldon's latest book Shrink! Shrank! Shrunk! Making Sylish Shrink Plastic Jewelry is one book that you'll enjoy just as much as I have.  Now what is Shrink Plastic?  Kathy explains that the big technical word for it is thermoplastic polystyrene but for those of us at a certain age who helped their siblings or parents created funky little things with this product in the 70s and 80s , you'll remember the name Shrinky Dinks.  I think I still have a few of those little colorful blobs of shrunk plastic floating around in my desk somewhere after being gifted with a medallion colored with magic markers by my younger brother and sister. 

They DO shrink and here is the proof

Kathy takes us through the basics of working with Shrinky Dinks giving samples of all the different kinds of Shrink Plastic (who would have known) along with places to purchase the items.  Then she gives ideas and clues on how to take this simple product and turn it into some pretty amazing pieces of jewelry with inks, paints, markers, images, and just about everything except the kitchen sink.  Each project from the 17  different craft artist is well written with clear instructions.  And nothing is left unexplored from earrings, to brooches, to necklaces, to rings.  Every project would be a delight to make and with adult supervision an exciting evening with your favorite younger craft person to be.  So, why not Get your SHRINK ON! and join in creating, sharing, and just laughing your way through a throw back in time product that will make your imagination burst out of its box.

One of my favorite projects.  Dots for Dot.
 And if you'd like to visit Lark's blog and see more about this adorable book and download a free pdf file to entice you even more to buy this book then please click here.

Disclosure...As a reviewer of  products from Lark Books, I receive the book above free of charge. I have been asked to review these products and give my honest opinion of the products...positive or negative. I am not being compensated by Lark Books for my endorsement as it pertains to the products received and reviewed.